B Create a Github Account
You can run a custom image designed for this course on a free Github cloud server. This enables running an RStudio session through a web browser, which eliminates the variability in personal laptop and University lab computer setups. This is not compulsory, but is likely to make life easier and having a Github account may be very useful to you if you continue with more advanced programming and data science.
To do so requires a Github account: this page guides you step-by-step through creating one. As a minimum, you must complete Step 1 below. This will give you 60 hours per month of free usage. If you complete Step 2 and 3 to register for the Educational Pro status, then this is increased to 90 hours alongside many other additional benefits.
Step 1: Create a Github account
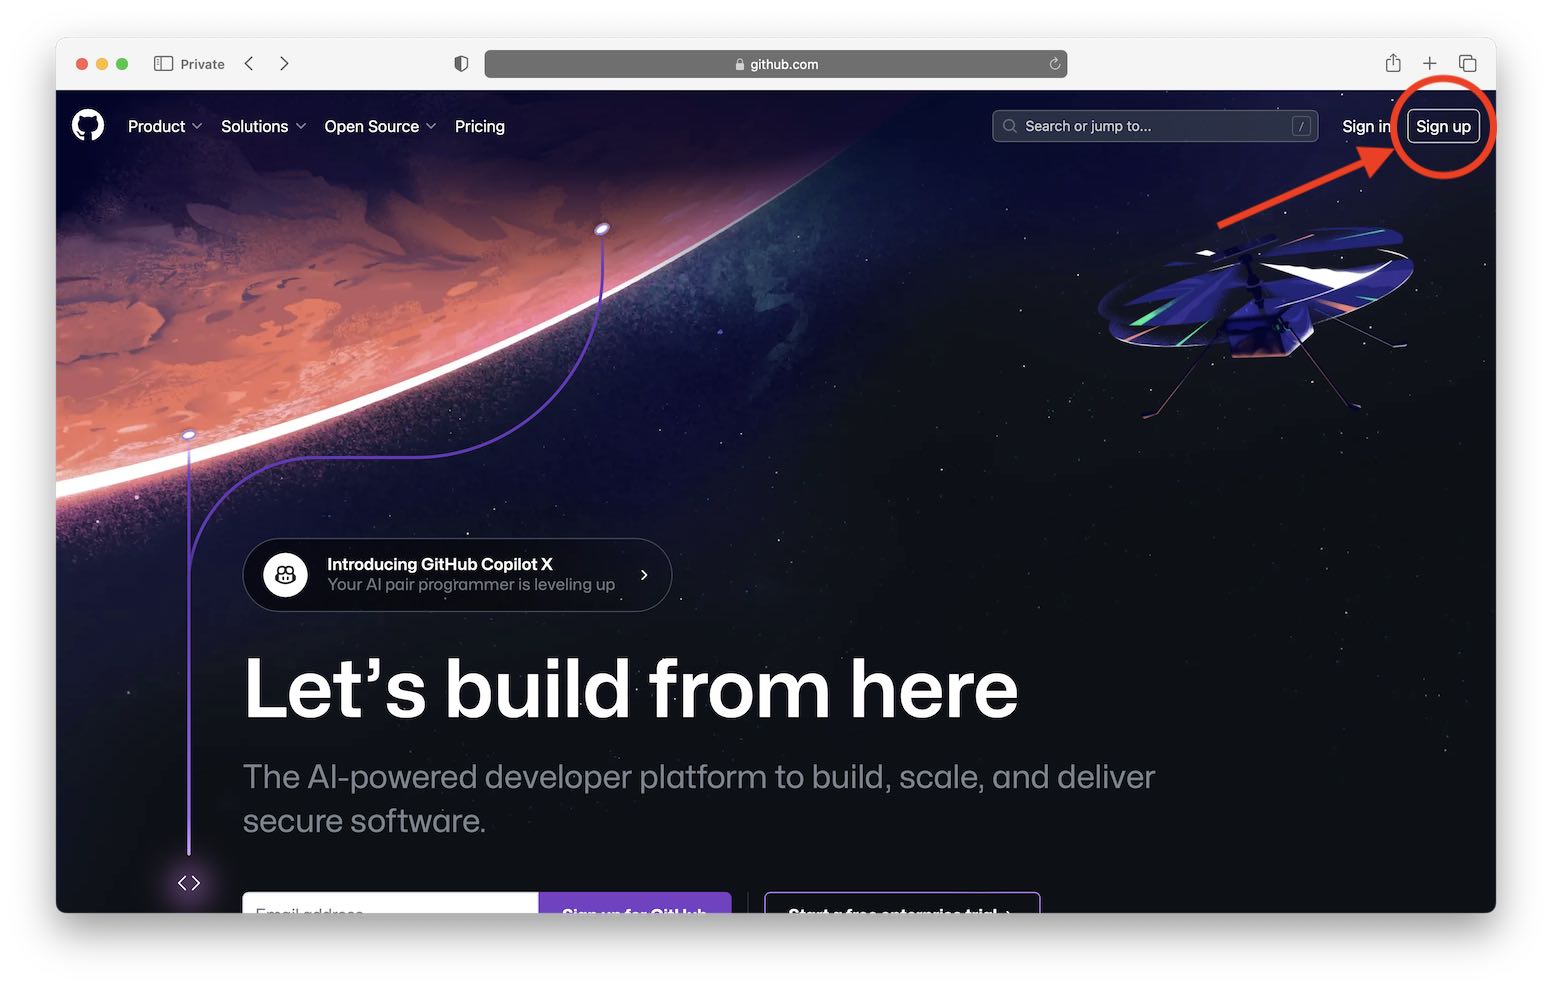
- Navigate to https://github.com and click on the “Sign Up” button in the top right of the page.
- Enter your University email account. Note, it is important to use this address so that you can receive the free “Pro” upgrade. It is possible to link multiple email addresses, so you can also add a personal email account after initial account creation.

- Choose a password and username.
Note that the username you choose will be visible against all activity you perform on Github, so choose well!
Also, if you for example choose
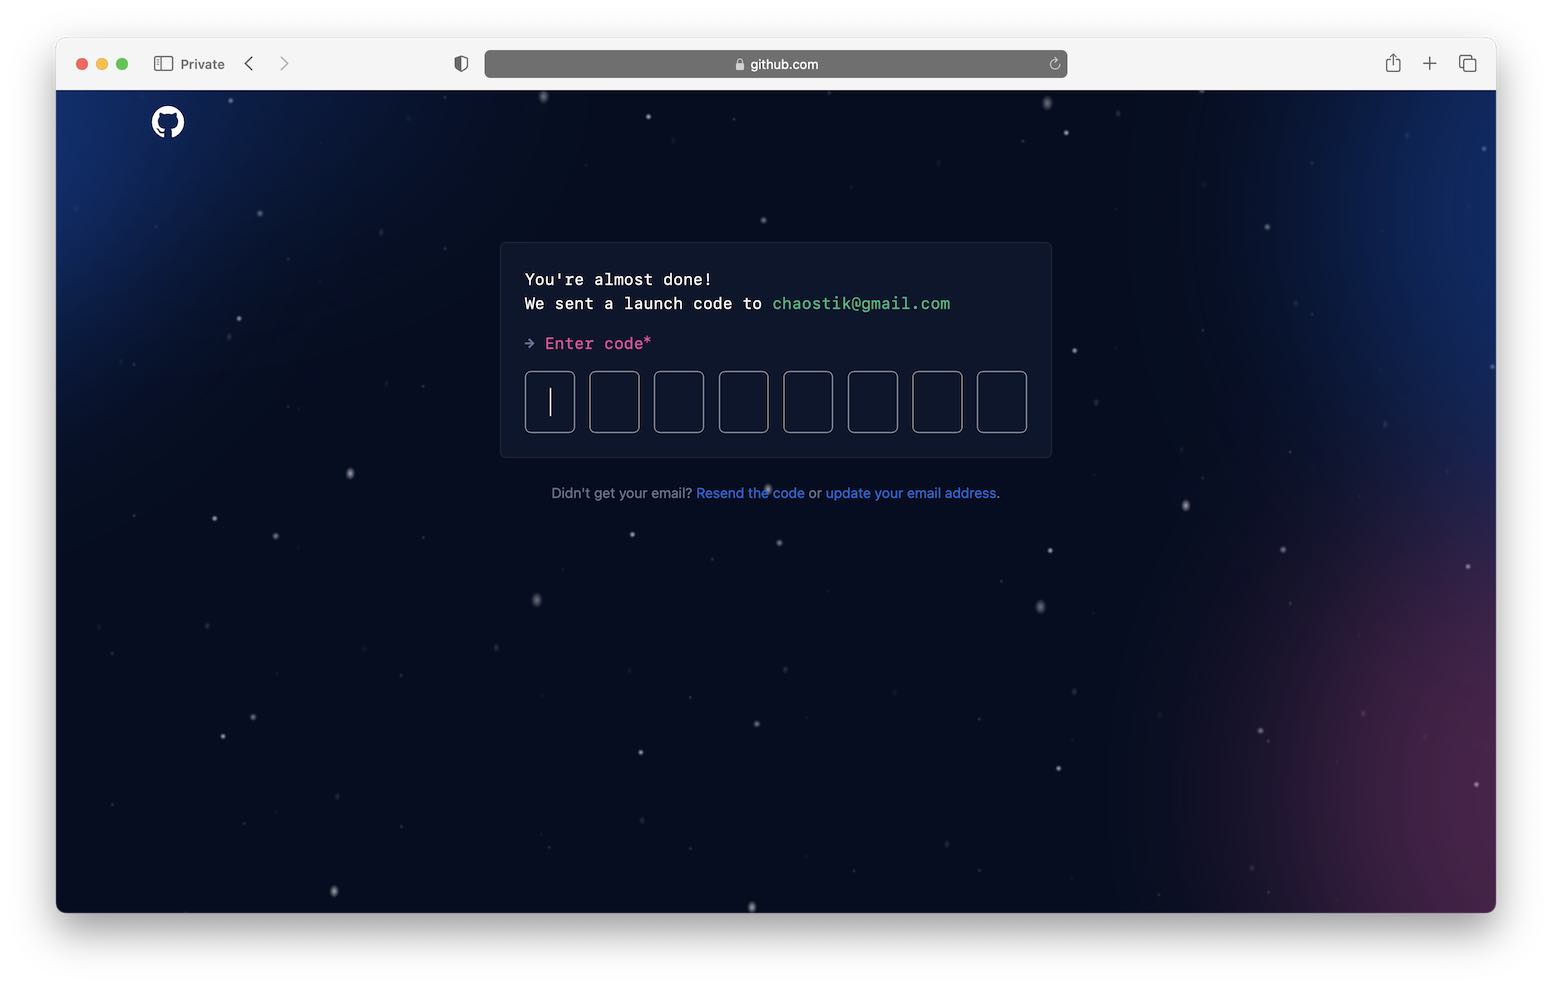
myusernamethen you will have a profile homepage athttps://github.com/myusername(eg, mine ishttps://github.com/louisaslett) - Continue to complete the human verification, then retrieve the code from your email and enter it to complete account creation.
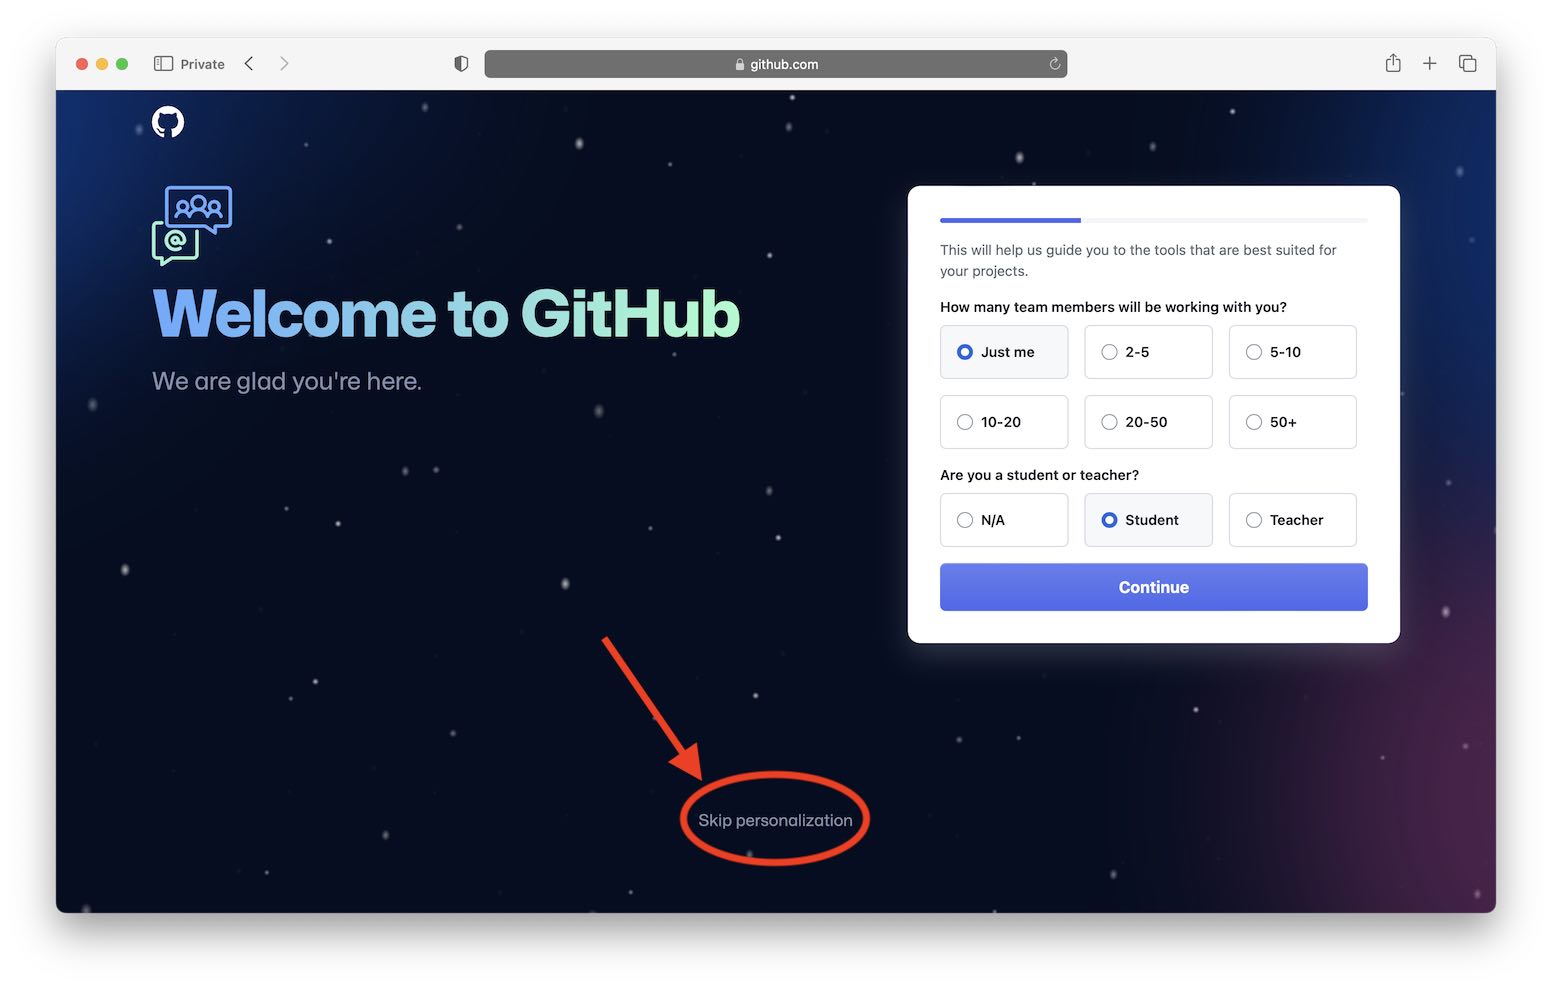
- You can either complete the personalisation questionnaire, or skip it using the rather well hidden link near the bottom (you verifying your student status is a different step, you don’t need to do that here).
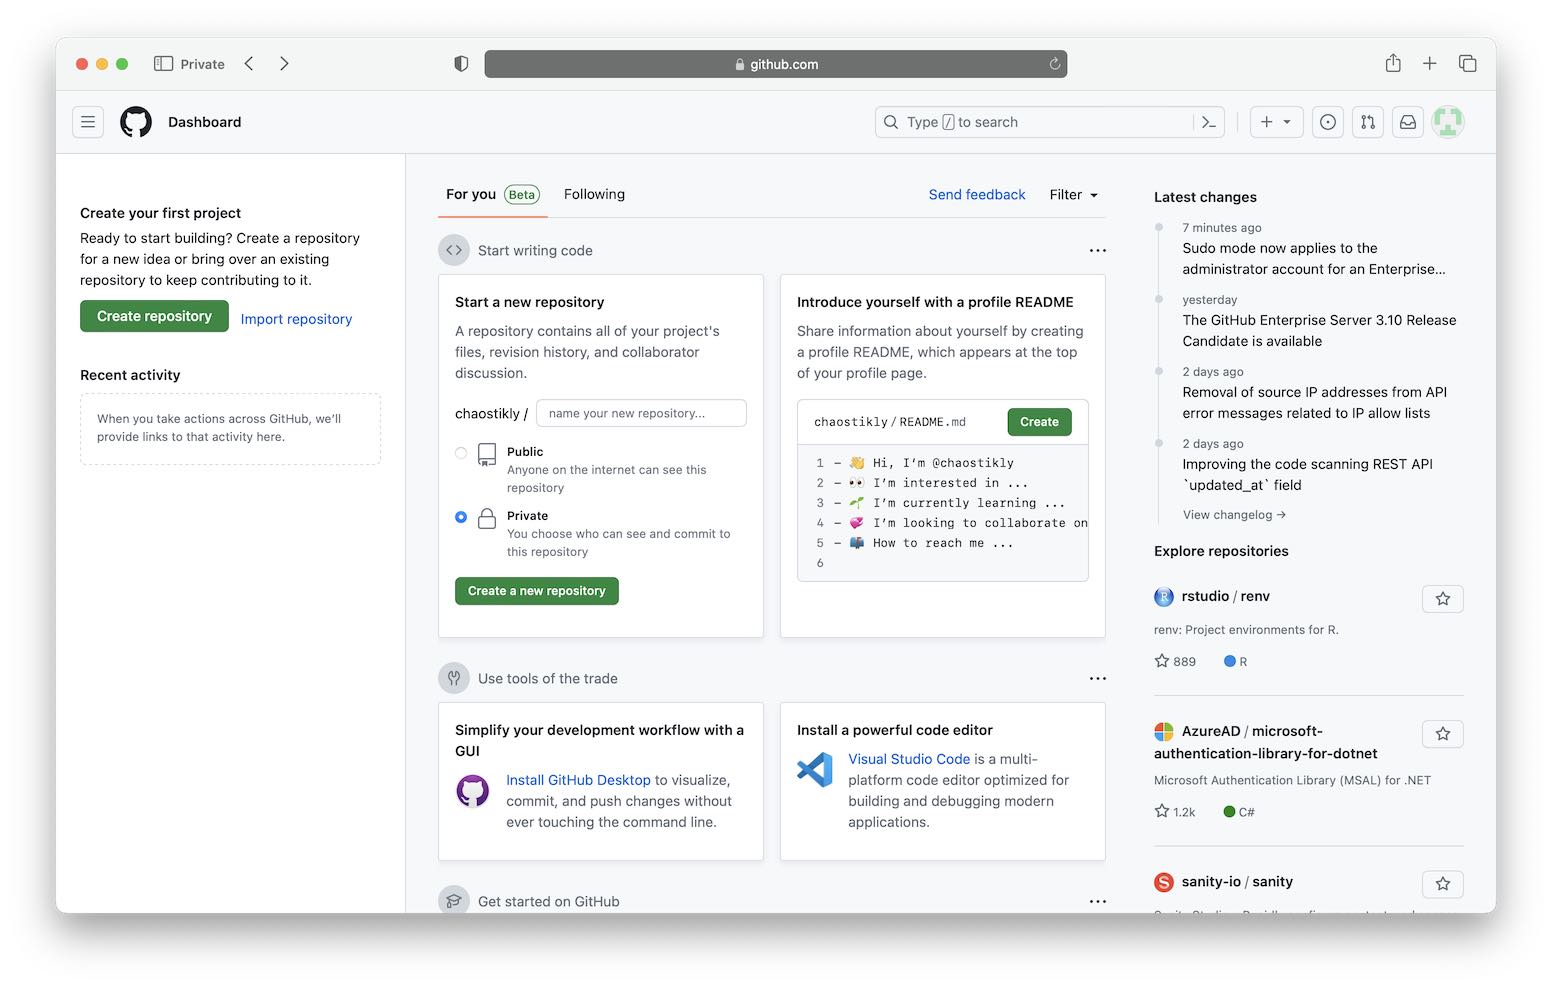
- If everything has gone smoothly, you will land at your new Github Dashboard, a little like below.
Feel free to explore this and fill out your profile README etc if you want to.
When ready, proceed to verify your student status.
Step 2: Sign up to Github Education
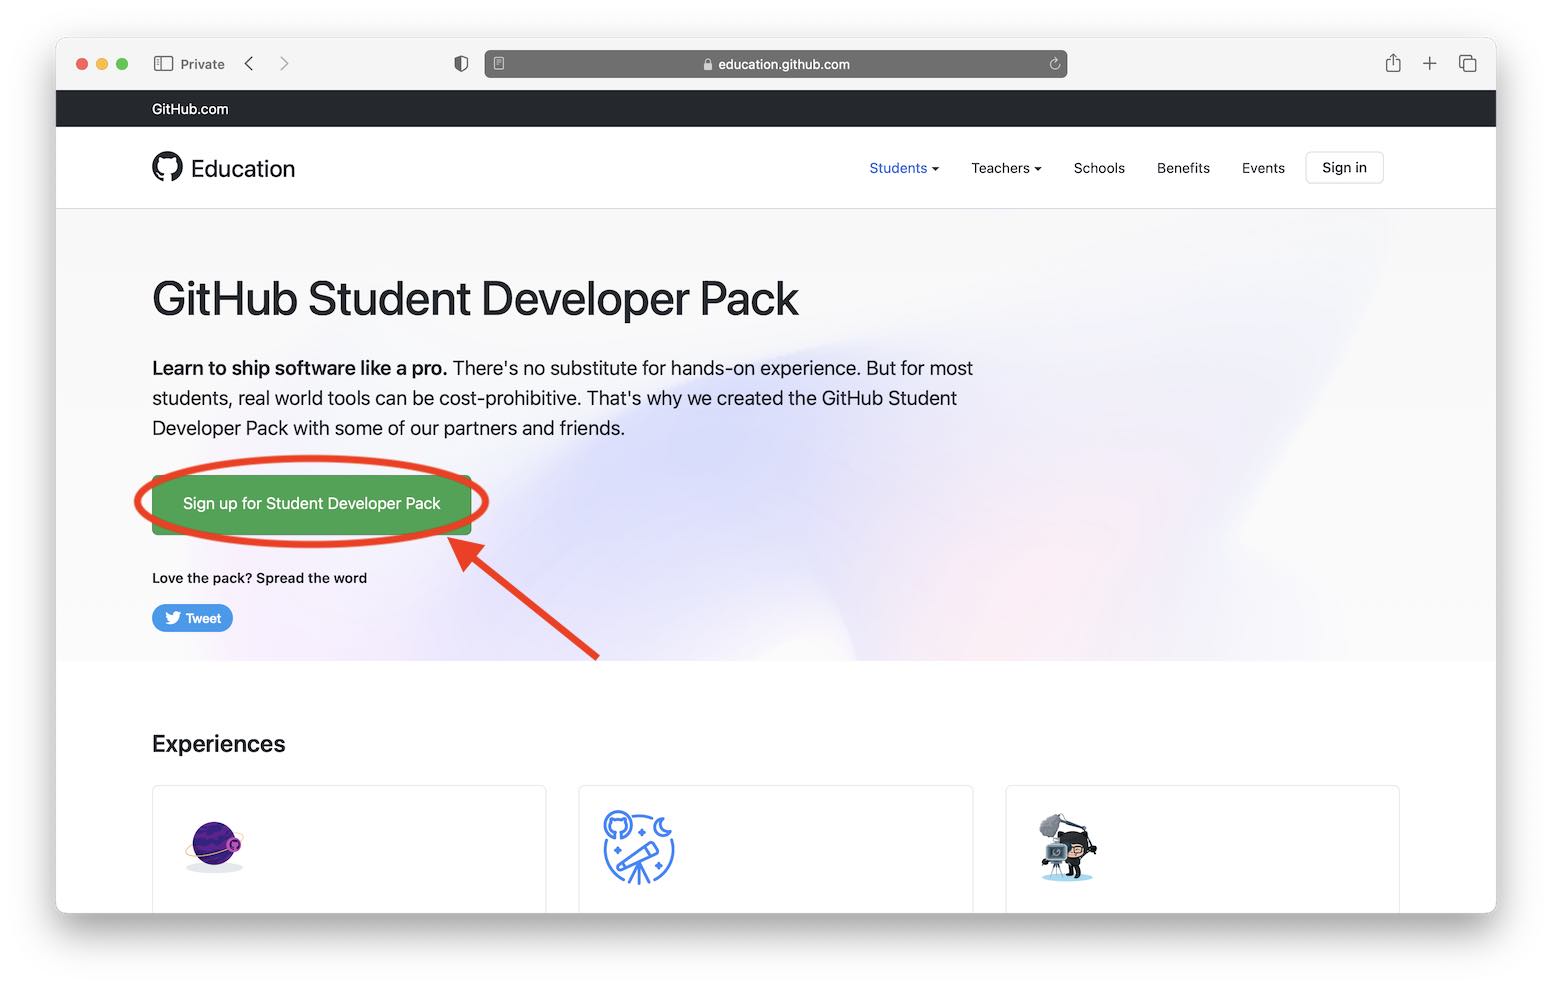
- Visit https://education.github.com/pack and click to “Sign up for Student Developer Pack”.
- Click “Get student benefits”.
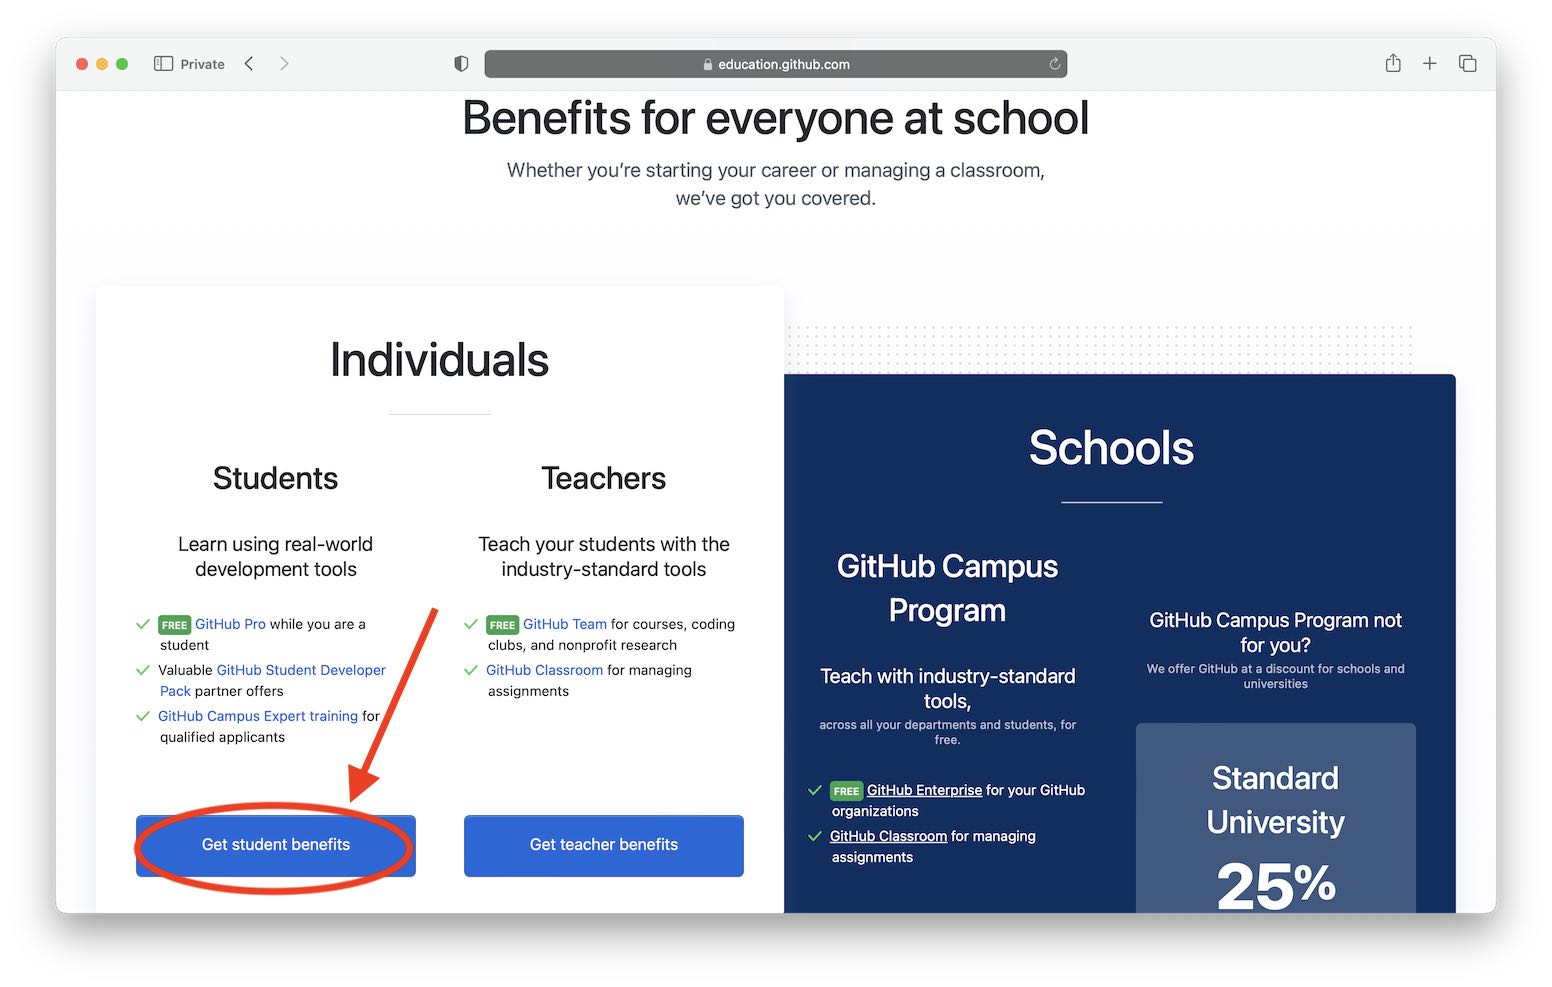
- You should arrive at the screen below.
Proceed to select your University
.ac.ukemail account from the list shown, provide the name of your University (tip: provide the full name, ie “University of X” or “X University” etc), and in “How do you plan to use Github?” you can simply state that it is used for some of the taught components of your PhD (and you may add any other ways you plan to use it).
- Github will then attempt to do some location detection to speed verification of your student status. If you have done this from your campus network, it will be quicker, but don’t worry if you are not at the University when you do this: you can still verify but might be asked for additional confirmation, like a photo of your campus student card.
Step 3: Confirm “Pro” status
Once you have completed the above steps, you may need to wait briefly for your student status to be confirmed (in some instances this is super fast, others up to a day).
To check that you have full “Pro” status, go to your profile page (remember from above, this is at https://github.com/YourUsername).
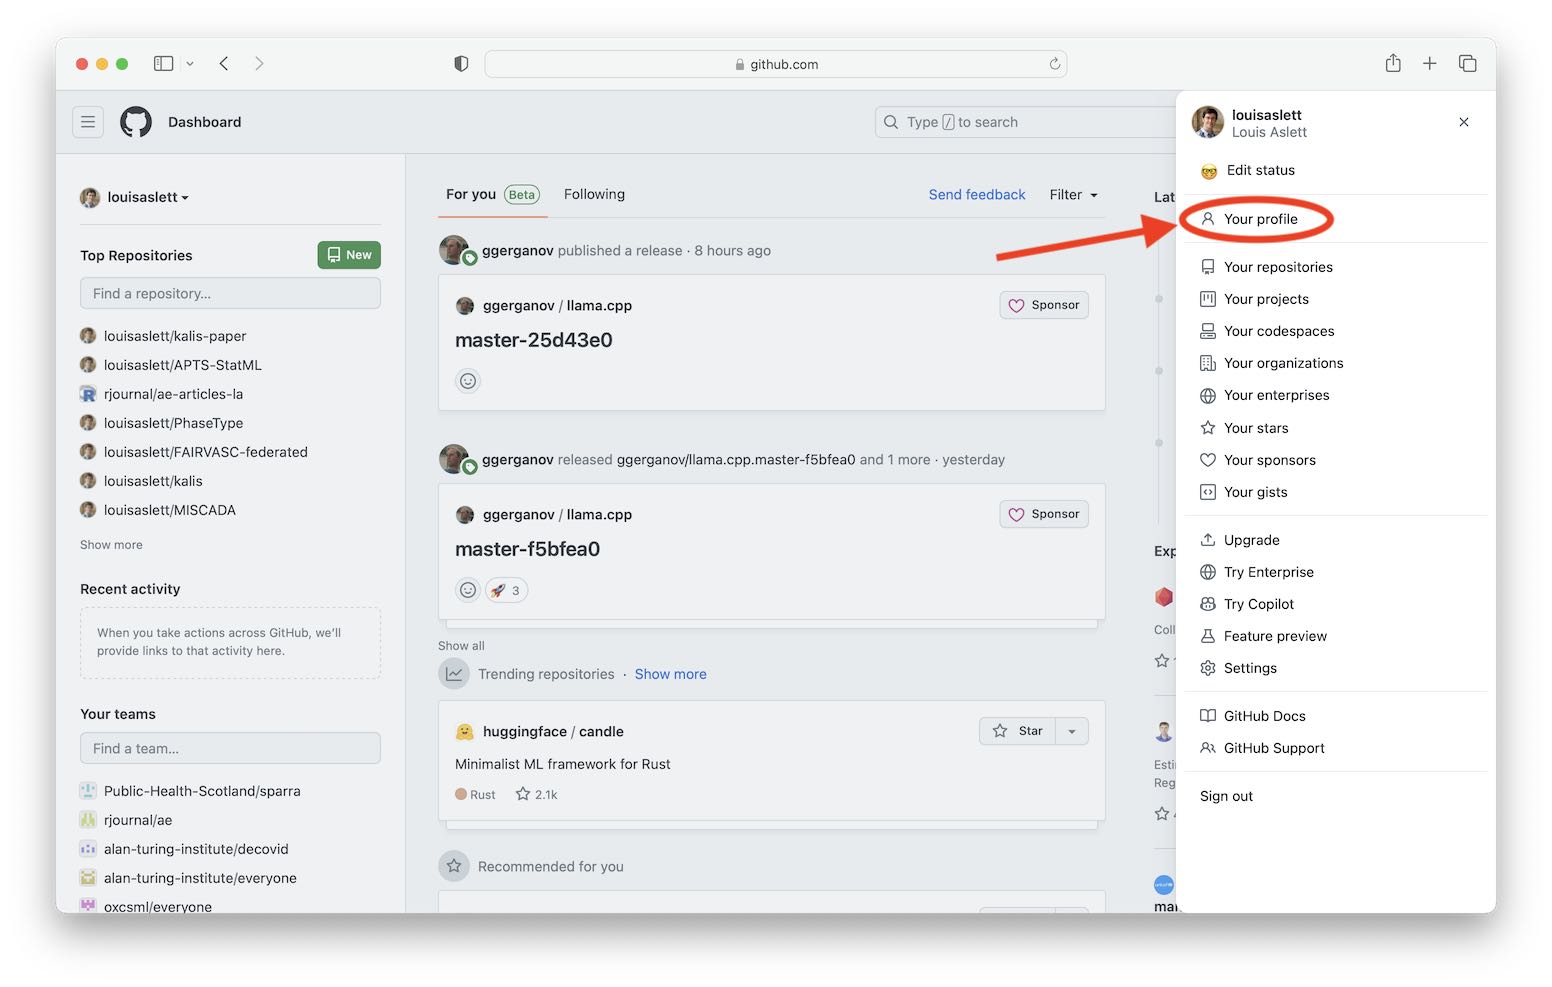
If you can’t get that to work for some reason, just go to https://github.com and click on the circular button in the top right:
 Then click “Your profile”
 Finally, scroll down and if your verification has completed successfully, then under the “Highlights” section of the left sidebar you will have a “Pro” badge displayed, like below.
 If you reach this point and have the “Pro” badge on your profile, then you’re all set to go!